How to Add Image to Your Page ?
Through this document , you will uncover the 'Image' feature properties in site editor page through these key elements:
1. Adding an Image
2. Feature Settings Window
3. Style Settings Window
Adding an Image
-
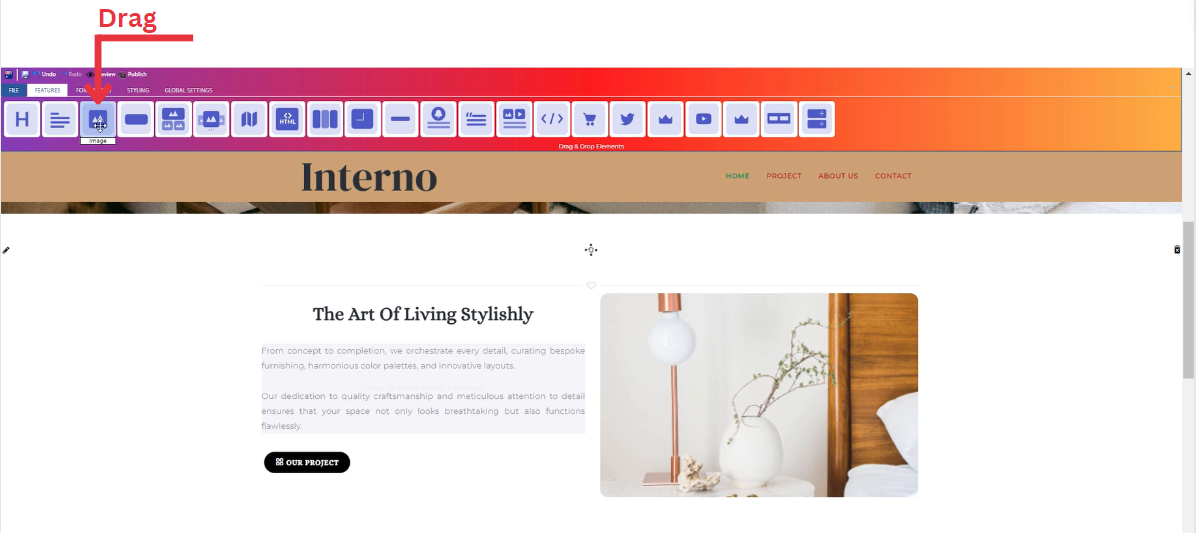
Drag the Image icon from the available features
-
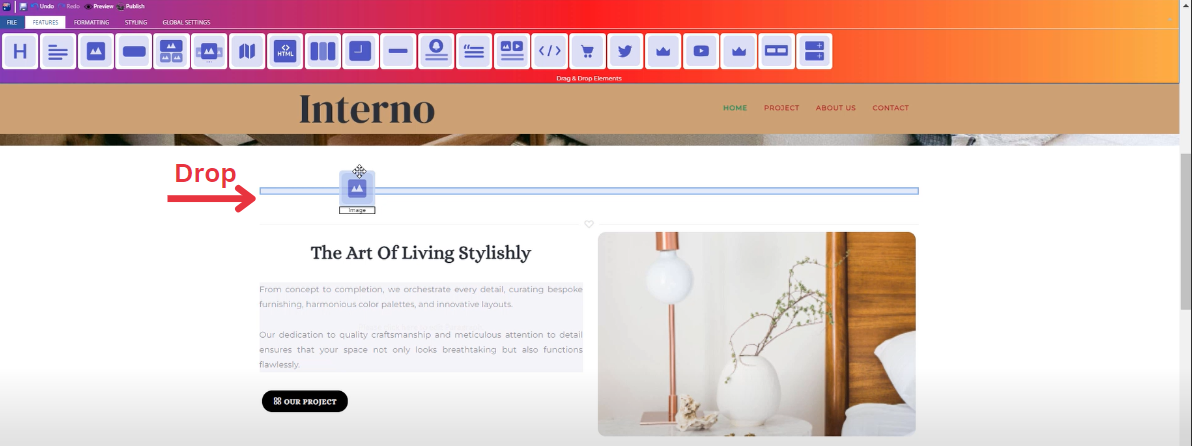
Drop the Image icon into the desired location on your website page
Feature Settings
Upon dropping the image , a settings window will appear, offering three main features:
-
Images
-
Include an image on your website by choosing from three options: select from your uploaded images, use sample images from the website, or upload a new image.
-
____________________________________________________________________________
-
Settings
-
Customize your image dimensions (Width , Height).
-
Determine how your image is visible on devices (Mobile , Tablet , Desktop , Large desktop).
-
____________________________________________________________________________
-
Animations
-
Add animation to your image from a long list of animation options.
-
Enhance your animated image by incorporating timing in seconds.
-
Style Settings
Design Features
-
Access the "Design" feature to customize your image appearance. Within this feature, you can determine the following properties:
-
Margin: Set the spacing around your image to control its placement on the page.
-
Border: Define a border for your image to add a distinct visual element.
-
Color: Choose the color that best complements your website's theme or design.
-
Style: Apply different styles to your image, enhancing its visual appeal.
-
Gradient: Add gradient effects to your button for a more dynamic and modern look.
-
Background Features
Style Customization
- Within the "Style" section, further refine your button presentation by adding classes from a dropdown list with a plethora of options.
- Determine how your image is visible on devices (Mobile , Tablet , Desktop , Large desktop).